
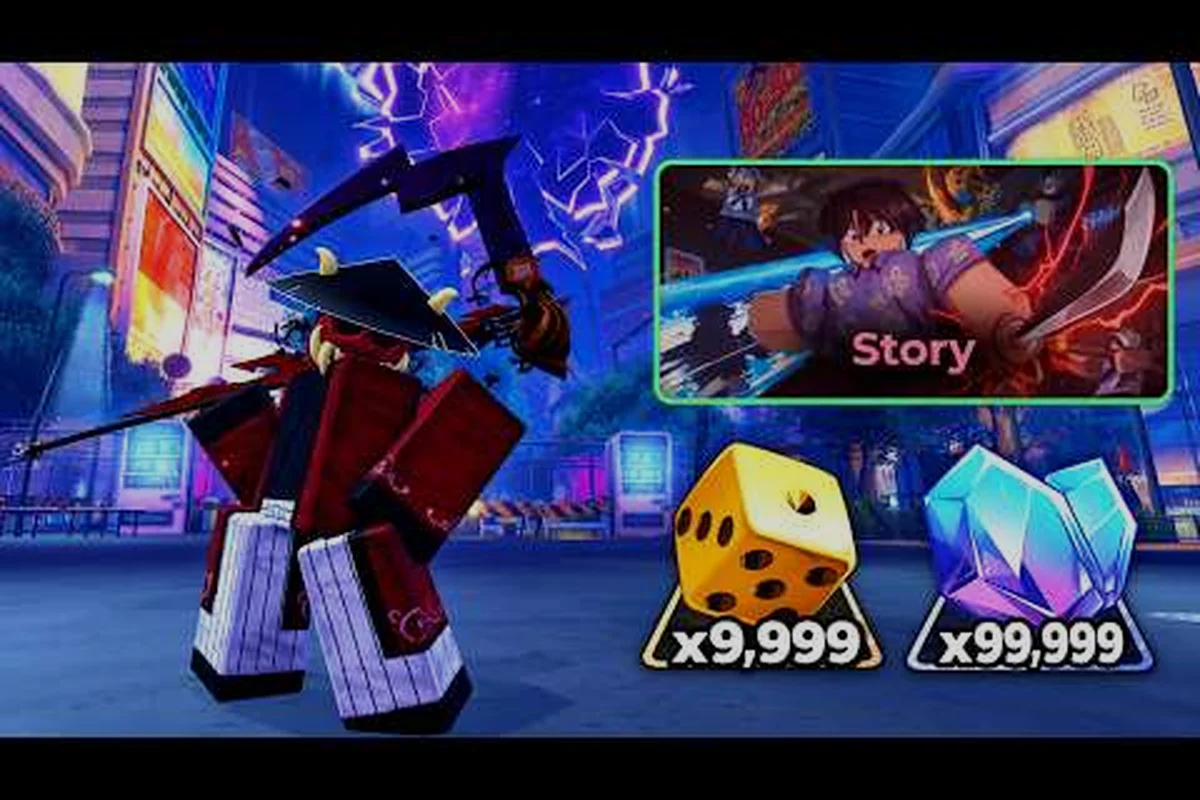
Your first hour in Anime Zero determines whether you waste resources or build a foundation that carries you through mid-game dungeons. This anime zero beginner guide focuses on the systems that actually matter: weapon loadouts, coin efficiency, and trait selection before you commit to a reroll. Community reports from Anime Zero beginner guides on Reddit confirm that most new players lose progress by spreading coins across too many early weapons.
What Anime Zero Gets Right for New Players
Anime Zero drops you into a hub with multiple progression paths, but the game does not explain which systems unlock first or which ones you can safely ignore. The core loop revolves around rolling weapons, equipping two weapons for a loadout, spending Coins and Gems wisely, picking Traits, and upgrading the Skill Tree. Understanding this order prevents the most common early mistake: treating every currency as interchangeable.
The first dungeon zones are clearable with basic loadouts, which means your initial goal is not power but consistency. Players who rush into raids before clearing the first three dungeon zones report hitting a wall because their Skill Tree lacks the passive damage nodes that make later zones manageable.
| System | Unlock Timing | Beginner Priority | Why It Matters |
|---|---|---|---|
| Weapon Rolling | Immediate | High | Defines your first loadout |
| Two Weapon Slots | After first zone | High | Doubles your damage rotation |
| Traits | Level 5+ | Medium | Passive stat boosts |
| Skill Tree | Immediate | High | Permanent account power |
| Enchants | Mid-game | Low | Expensive, reroll later |
| Accessories | Mid-game | Low | Marginal gains early |
| Dungeons | Immediate | High | Main coin source |
| Raids | Later | Low | Requires coordinated loadouts |
| Evolution Paths | Late-game | Low | Long-term goal only |
The priority order itself is the real takeaway: Weapon Rolling into two weapon slots, then Skill Tree nodes, then Coins into dungeon farming beats hoarding Gems for a mid-game Enchant reroll every time. A concrete example from the table — a new player who sinks early Gems into Accessories before unlocking their second weapon slot effectively delays their damage rotation by several dungeon clears, because the second slot doubles your output while an early Accessory adds only a marginal stat gain that gets replaced in mid-game anyway. Community consensus holds that the unlock sequence matters more than the specific numbers attached to any single system, since balance patches can shift drop rates or trait values without changing which system gates the next power spike.
First-Hour Priorities That Save You Coins
Your first hour should follow a strict sequence: roll a weapon, equip two weapons, clear the first dungeon, then upgrade only the Skill Tree nodes that boost your equipped weapon types. This anime zero roblox guide emphasizes restraint because coins spent on a weapon you will replace in twenty minutes are coins lost.
Rolling Weapons Without Wasting Gems
Weapon rolling uses a gacha-style system where Gems are the premium currency and Coins are the standard currency. The weapon abilities breakdown explains passives in detail, but for your first hour you only need to know one rule: never spend Gems on standard rolls. Save Gems for featured banners or guaranteed pity mechanics, while using Coins for early progression rolls.
Community testing shows that early coin rolls produce enough variety to clear the first three zones. The two weapon slots unlock after your first zone clear, and this is where your damage rotation begins to matter. Equip a fast-hitting weapon in one slot and a heavy-hitting weapon in the other to cover both mob clearing and boss damage.
Weapon Loadout Priorities:
-
Roll until you have one fast weapon (sword, dagger, or similar) and one heavy weapon (axe, hammer, or similar)
-
Do not upgrade weapons until you have cleared the first two zones
-
Check weapon passives before equipping — some passives only activate under specific conditions
-
Keep duplicate weapons for future evolution paths rather than selling them immediately
The temptation to reroll immediately is strong, but the reroll strategy guide recommends clearing at least the first zone before deciding whether your account is worth keeping. Early dungeon clears give you enough coins to make multiple rolls, which means a "bad" first roll is not a lost account.
Skill Tree Nodes That Matter First
The Skill Tree is your permanent account progression, and it is the one system where spending early is always correct. Focus on nodes that increase base damage, coin gain, and health before touching anything else. These three categories provide immediate returns in every dungeon, while utility nodes like movement speed or cooldown reduction only matter once you have a stable loadout.
| Skill Tree Priority | Node Type | Reason | Respec Cost |
|---|---|---|---|
| 1 | Base Damage | Direct clear speed | Low |
| 2 | Coin Gain | Faster economy scaling | Low |
| 3 | Health | Survival in later zones | Medium |
| 4 | Cooldown Reduction | Smoother rotations | Medium |
| 5 | Movement Speed | Quality of life | High |
Respec costs scale upward with each use, so treat your early Skill Tree points as semi-permanent. The first respec is cheap enough to fix a genuine mistake, but by the third or fourth respec you are burning coins that should be rolling for weapon banners or upgrading existing gear. If you are unsure which weapon types suit you, hold off on committing to weapon-specific nodes until you have pulled at least two different weapon archetypes from banners and run a few dungeons with each. A common beginner trap is respeccing just to test a Cooldown Reduction or Movement Speed build before your base damage and coin gain nodes are maxed — that experiment can cost more than the coins it would take to simply unlock the next damage tier.
How to Play Anime Zero Without Burning Out
The mid-game transition is where most players quit, and it is almost always because they tried to rush content that requires specific loadouts or evolution paths. This anime zero how to play section covers the pacing strategy that keeps progression smooth.
Dungeon Progression Order
Dungeons scale in difficulty, but the jump between zone three and zone four is steeper than any earlier transition. Before attempting zone four, make sure your Skill Tree has at least five points in base damage and your weapons are both at least level ten. Players who enter zone four with level five weapons report losing multiple runs to the same elite mobs.
Dungeon Clear Checklist:
-
Clear zone one twice to build a coin buffer
-
Upgrade both weapons to level five before zone two
-
Unlock the second weapon slot before zone three
-
Spend all Skill Tree points on damage and coin gain before zone four
-
Only attempt raids after clearing zone five
The game mode unlock guide covers what opens after each zone clear, including when raids and evolution paths become available. Knowing what unlocks next gives you a concrete goal instead of wandering between systems.
Trait Selection Without Regret
Traits are passive bonuses that roll randomly, and rerolling them costs resources that are scarce in the first week. The best approach is to accept any trait that boosts your equipped weapon types and save trait rerolls for when you have a stable loadout. Traits that boost critical chance, attack speed, or elemental damage are universally useful, while traits tied to specific weapon categories only help if you commit to that category.
| Trait Category | Beginner Value | Reroll Priority | Notes |
|---|---|---|---|
| Critical Chance | High | Keep | Scales with all weapons |
| Attack Speed | High | Keep | Faster rotations |
| Elemental Damage | Medium | Keep if matching weapon | Synergy dependent |
| Weapon-Specific | Low | Reroll later | Only useful with commitment |
| Defense | Medium | Keep | Helps in later zones |
| Coin Gain | High | Keep | Accelerates economy |
Rerolling a single trait slot can consume Trait Reroll Shards at an escalating rate — often 5, then 15, then 40 per successive attempt on the same item — meaning three bad rolls on a starter weapon can drain a week's worth of shard income in under a minute. Since your first-week gear is replaced as soon as you clear Zone 3 and unlock Crafting Station drops, every shard spent on a temporary weapon is a shard you won't have when a Mythic-rarity drop finally lands. The smarter play is to treat traits as a bonus, not a build requirement: a Rare sword with Attack Speed +6% will carry you through early Story Mode stages far more reliably than a Legendary with a dead Weapon-Specific roll you burned 60 shards trying to fix.
Smart Coin and Gem Spending for the First Week
The economy in Anime Zero punishes impulsive spending more than any other system. Coins are farmable but slow, while Gems are limited and should be treated as a strategic resource. This anime zero starter guide section breaks down exactly where each currency goes.
Coin Spending Priorities
Coins fund weapon rolls, weapon upgrades, and Skill Tree nodes. The order matters because each system has diminishing returns. Weapon upgrades cost more per level as you progress, while Skill Tree nodes provide flat bonuses that never diminish. This means Skill Tree nodes are the best long-term coin investment, followed by weapon upgrades on weapons you plan to keep.
Coin Spending Order:
-
First 500 coins: Skill Tree damage nodes
-
Next 300 coins: weapon upgrades to level five
-
Next 200 coins: additional weapon rolls
-
After zone three: balance between Skill Tree and weapon upgrades
-
Never spend coins on enchants before zone five
The coin gain Skill Tree nodes pay for themselves within a few dungeon clears, which is why they rank so high on the priority list. Players who skip coin gain nodes report hitting an economy wall around zone four where upgrade costs outpace income.
Gem Spending Without Regret
Gems are the premium currency, and the only correct early use is saving them for featured banners with guaranteed pity mechanics. Standard banners have no pity, which means you can spend hundreds of Gems and receive nothing useful. Community reports consistently show that players who save Gems for featured banners progress faster than those who spend on standard rolls.
| Gem Use | Beginner Recommendation | Reason |
|---|---|---|
| Featured Banner | Save for this | Guaranteed pity |
| Standard Banner | Never | No pity, wasted Gems |
| Coin Conversion | Never | Terrible exchange rate |
| Inventory Slots | Only if full | Quality of life |
| Trait Rerolls | Never early | Resource waste |
The featured banner rotation changes regularly, and the featured weapon evolution guide explains which featured weapons have evolution paths worth chasing. A featured weapon with an evolution path is worth more than a standard weapon with slightly better base stats.
Common Beginner Mistakes That Waste Progress
Every anime zero tips and tricks guide should include a section on what not to do, because avoiding mistakes is cheaper than fixing them. The mistakes below come from community reports and player experiences shared across multiple platforms. New players frequently burn their initial Yen on cosmetic rerolls or low-tier units before unlocking the gacha pity counter, then hit a wall in Chapter 3 where the difficulty curve spikes and their roster lacks a single SSR carry. Others waste the free daily stamina refill by farming early story stages for EXP instead of saving it for the limited-time event dungeons that drop exclusive awakening materials. Understanding why these habits are traps matters more than memorizing a list, because each wasted resource compounds: a missed day of event farming can delay a character's evolution by a week, and an under-leveled team forces you to spend premium currency on continues that would have been unnecessary with better early planning.
The Reroll Trap
Rerolling feels productive because it gives you a fresh start, but it wastes the most valuable resource in Anime Zero: time. Every reroll resets your Skill Tree progress, which is permanent account power that no weapon roll can replace. The reroll guide covers the math behind when rerolling is actually worth it, but the short version is this: only reroll if your first three weapon rolls produce nothing usable.
Signs You Should Not Reroll:
-
You have at least one weapon that clears zone one comfortably
-
Your Skill Tree has three or more points in damage or coin gain
-
You have accumulated more than 500 coins
-
Your traits include at least one universally useful bonus
The sunk cost fallacy works in reverse here: players abandon accounts with real progress because they did not get a specific weapon on the first roll. That weapon will appear eventually, and the Skill Tree progress you abandon is worth more than any single weapon.
The Upgrade Spreading Problem
Upgrading every weapon you equip spreads coins across too many items and leaves you with nothing at a usable level. Pick two weapons and commit to them until zone five. The weapon passives matter more than raw stats in early zones, so a level ten weapon with a good passive beats two level five weapons with mediocre passives.
| Mistake | Consequence | Prevention |
|---|---|---|
| Upgrading every weapon | No weapon at usable level | Commit to two weapons |
| Spending Gems on standard rolls | No pity, wasted premium currency | Save for featured banners |
| Ignoring coin gain nodes | Economy wall at zone four | Prioritize coin gain early |
| Rerolling after one bad roll | Lost Skill Tree progress | Clear zone one first |
| Skipping dungeon clears | Underleveled for raids | Follow progression order |
The economy wall is the most frustrating mistake because it feels like the game suddenly became unfair. In reality, it is the predictable result of ignoring coin gain nodes and spreading upgrades too thin. By zone four, a player who skipped the coin gain nodes on the Skill Tree will earn roughly 40–60 coins per clear, while a player who prioritized them earns 150–200, making every subsequent upgrade cost two to three times more clears. The gap compounds because weapon passives and artifact slots both scale off coin income, so falling behind at zone three means entering zone five with underleveled gear and no way to catch up without replaying earlier zones for hours.
Frequently Asked Questions
What is the best weapon for a new player in Anime Zero?
The best starter weapon is any fast-hitting option that clears zone one comfortably, because early dungeons reward consistent damage over burst. Focus on unlocking your second weapon slot and pairing a fast weapon with a heavy weapon rather than chasing a specific rare roll.
How do I get more coins quickly in Anime Zero?
Clear the highest dungeon zone you can complete reliably, and prioritize coin gain nodes in the Skill Tree. Repeating zone clears is more efficient than pushing into zones where you die frequently, because failed runs waste time without generating income.
Should I spend Gems on standard weapon rolls?
No, standard rolls have no pity mechanic, which means you can spend hundreds of Gems without receiving anything useful. This is especially punishing early on, when a bad streak of 20–30 standard rolls can stall your zone-one progression and force you to grind dungeons with an underpowered loadout. Save Gems for featured banners with guaranteed pity, because those banners provide the best value for premium currency — the pity counter carries across reruns of the same featured banner, so you can build toward a guaranteed weapon over multiple appearances instead of gambling on standard rolls that reset your progress to zero.
When should I start rerolling my account?
Only reroll if your first three weapon rolls produce nothing usable and you have not invested in Skill Tree nodes. Skill Tree progress is permanent account power, and abandoning it for a chance at a specific weapon is rarely worth the time cost.
What should I upgrade first in the Skill Tree?
Prioritize base damage, coin gain, and health nodes in that order. These three categories provide immediate returns in every dungeon, while utility nodes like movement speed or cooldown reduction only matter once you have a stable loadout and understand your preferred playstyle.