
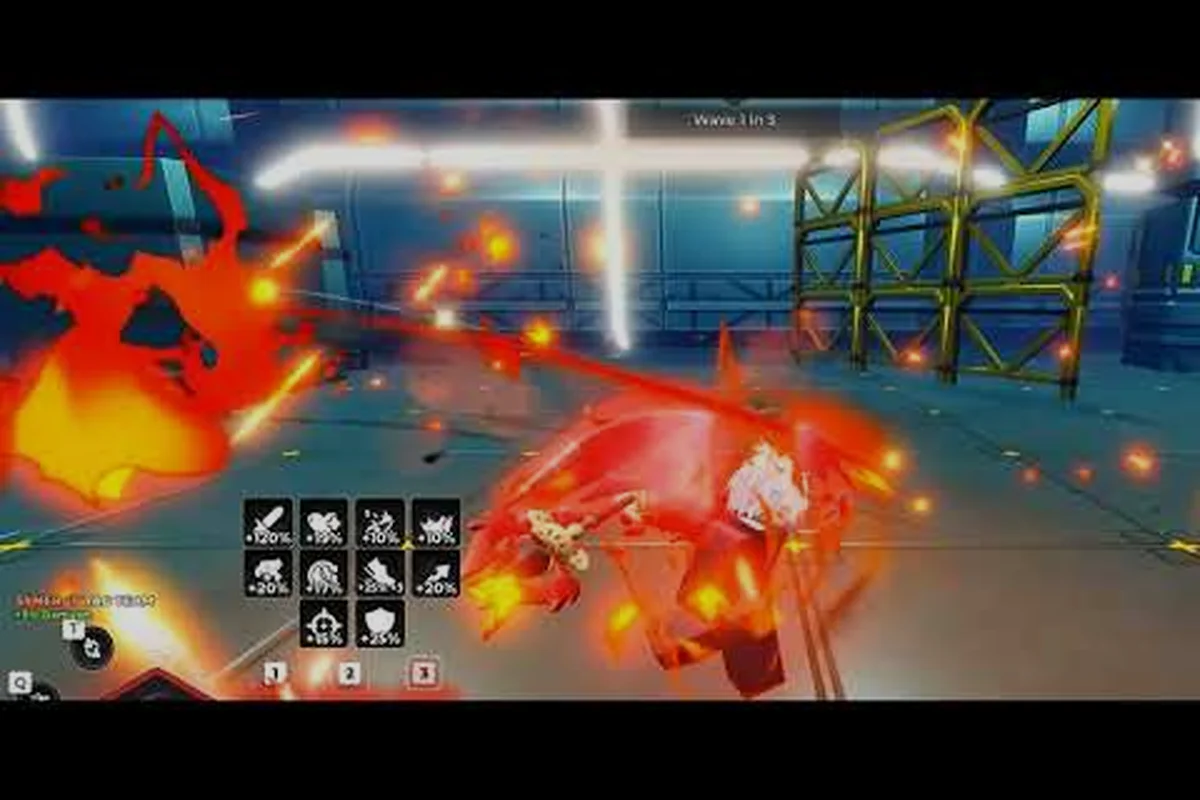
Anime Zero dungeons hide more than standard clear rewards. Hidden zones sit behind breakable walls, timed switches, and co-op-only pressure plates that most solo runs never trigger. Knowing which anime zero hidden zones exist, how dungeon reruns work, and where checkpoints actually save your progress separates efficient farmers from players who waste keys on failed attempts. This guide maps the secret paths, reset mechanics, and checkpoint behavior that unlock the deepest dungeon loot.
How Anime Zero Dungeons Structure Hidden Zones
Dungeon layouts in Anime Zero follow a room-chain system where each floor contains a primary combat arena, a transition corridor, and occasionally a sealed side chamber. The sealed chambers are the hidden zones, and they never appear on the default minimap. Players only discover them by interacting with environmental objects that look decorative but actually respond to specific inputs.
Community testing across multiple dungeon runs shows that hidden zone entrances fall into three consistent categories. The first category is breakable wall segments, which show faint crack textures when viewed from a close angle. The second category is pressure plate sequences, which require two or more players standing on marked floor tiles simultaneously. The third category is timed lever rooms, where pulling a lever opens a door for roughly eight seconds before it slams shut.
The following table summarizes the three hidden zone entrance types, their trigger requirements, and the typical reward tier they unlock — but the tier labels alone undersell the difference in loot value, because a Standard chest from a breakable wall typically contains one uncommon gear piece or a small stack of upgrade materials, while a Rare chest behind a pressure plate sequence can drop class-specific accessories that are otherwise locked behind the anime zero dungeon reset cycle, and an Elite chest from a timed lever room is the only hidden zone reward that has a confirmed chance to roll a legendary weapon blueprint, which makes the eight-second sprint worth mastering even for players who normally avoid speed-focused mechanics.
| Entrance Type | Trigger Requirement | Solo Viable | Typical Reward Tier |
|---|---|---|---|
| Breakable Wall | Heavy attack or specific ability hit | Yes | Standard chest |
| Pressure Plate Sequence | 2+ players standing on tiles | No | Rare chest |
| Timed Lever Room | Pull lever, sprint to door within 8 seconds | Yes | Elite chest |
Breakable walls are the most common hidden zone entrance, but they are also the easiest to miss because the crack texture only renders when your character is within melee range. Pressure plate sequences are exclusive to Anime Zero co op dungeons, which means solo players physically cannot access those specific hidden zones unless the game later adds a companion mechanic. Timed lever rooms reward players who know the dungeon layout well enough to sprint from the lever to the door without hitting a dead end.
Reading Environmental Cues Before You Commit
Hidden zone entrances always leave a subtle breadcrumb trail. Players who rush through dungeons at maximum speed miss these cues entirely, which is why speed farming guides rarely mention hidden zones. The most reliable cue is asymmetric room geometry, where one wall segment looks slightly recessed compared to the rest of the room. Another cue is floor discoloration near pressure plates, which appears as a faint circular stain that does not match the surrounding tile pattern.
A third cue involves enemy spawn behavior. In rooms with hidden zones, one enemy wave often spawns from a direction that does not align with any visible doorway. When you clear that wave and walk toward the spawn point, you frequently find the hidden entrance tucked behind a pillar or crate. Players who track spawn directions during their first dungeon clear can map hidden zones without wasting a second run.
Anime Zero Dungeon Rerun Mechanics and Reset Timing
Anime Zero dungeon rerun mechanics determine what resets when you re-enter a dungeon after completing it. The game does not fully reset every dungeon element, which creates confusion for players who expect a clean slate. Understanding the difference between a full reset and a partial reset is essential for planning hidden zone farming routes.
When you finish a dungeon and start a rerun, the following elements reset in a predictable order. Enemy waves respawn with the same composition, chests refill with randomized loot from the dungeon's reward pool, and breakable walls regenerate. However, dungeon checkpoints do not reset in the same way, and this is where most players lose progress without realizing it.
The table below breaks down what resets on a standard Anime Zero dungeon rerun versus what persists between runs: enemy waves, loot chests, and breakable walls follow a full-reset cycle, while map discovery and hidden zone unlock flags are deliberately preserved. This split exists because the game stores dungeon state in two separate layers — a per-run instance layer for combat and loot, and a persistent dungeon layer for exploration flags tied to your character. The practical consequence is that rerunning a dungeon after a full clear feels faster on the map screen even before you reach the first checkpoint, since previously explored corridors remain visible and hidden zone entrances stay marked.
| Element | Resets on Rerun | Persists Between Runs |
|---|---|---|
| Enemy Waves | Yes, full respawn | No |
| Loot Chests | Yes, randomized contents | No |
| Breakable Walls | Yes, fully restored | No |
| Checkpoint Activation | Yes, requires re-trigger | No |
| Map Discovery | No | Yes, explored areas stay visible |
| Hidden Zone Unlock Flags | No | Yes, once unlocked stays open |
The persistence of hidden zone unlock flags is the single most important rerun mechanic for farmers. Once you unlock a hidden zone in Anime Zero, that specific entrance remains open on all future reruns of the same dungeon. This means your first clear should prioritize unlocking every hidden zone you can find, because subsequent runs become significantly faster when you do not need to re-trigger pressure plates or re-break walls.
How Anime Zero Dungeon Reset Differs From Rerun
Players often confuse the terms rerun and reset, but they refer to different systems. An Anime Zero dungeon reset happens when you abandon a run before completing it, either by dying without a revive or by manually leaving through the pause menu. A reset discards all progress from the current attempt, including any hidden zones you unlocked during that specific run.
A rerun, by contrast, starts after you complete the dungeon and exit through the victory portal. Reruns preserve your permanent unlock flags, which is why they are the preferred method for farming hidden zone loot. If you die halfway through a dungeon after unlocking a hidden zone, that unlock is lost because the run reset rather than completed. The distinction matters because it changes whether you should push for the boss or extract early.
Anime Zero Dungeon Checkpoints and Their Hidden Zone Impact
Anime Zero dungeon checkpoints function differently from checkpoints in most Roblox dungeon games. Instead of saving your position at the start of each floor, checkpoints in Anime Zero save your room completion state and your hidden zone unlock flags for the current run. This design choice means checkpoints are both more forgiving and more punishing depending on what you are trying to accomplish.
When you activate a checkpoint, the game records which rooms you have cleared and which hidden zone entrances you have opened. If you die after activating a checkpoint, you respawn at that checkpoint with your room progress intact. However, enemies in the room where you died also respawn, which means you cannot use death as a shortcut to skip combat.
The following table lists the standard checkpoint locations across the main dungeon types and what each checkpoint preserves, but the raw placement data hides a critical hidden zone interaction: activating a checkpoint does not reset your hidden zone unlock flags, so if you open a hidden zone entrance in room 3, die in room 5, and respawn at the room 4 checkpoint, the room 3 hidden zone entrance stays unlocked and you can backtrack to it without re-clearing the trigger condition. This persistence is especially valuable in Standard Dungeons, where hidden zone entrances are often tied to pressure plates or lever puzzles that would otherwise need to be redone after every death, and it explains why checkpoint placement after every 2 rooms is deliberately spaced to give you a safe backtracking window without trivializing the combat gauntlet between checkpoints.
| Dungeon Type | Checkpoint Locations | Preserves on Death |
|---|---|---|
| Standard Dungeon | After every 2 rooms | Room clears, hidden zone unlocks |
| Boss Dungeon | Before boss arena only | Boss attempt progress resets |
| Co-op Dungeon | After every room | Room clears, plate triggers |
| Timed Dungeon | None, single checkpoint at start | Nothing beyond start state |
Co-op dungeons have the most generous checkpoint placement, which makes sense given the coordination required for pressure plate hidden zones. When one player dies in a co-op dungeon, they respawn at the last checkpoint while the surviving player can continue fighting. The dead player's hidden zone unlock flags remain active as long as at least one party member stays alive, which prevents frustrating progress loss during difficult encounters.
Checkpoint Activation and Hidden Zone Synergy
The interaction between checkpoints and hidden zones creates a specific farming pattern that experienced players exploit. Because checkpoints preserve hidden zone unlocks for the current run, you can unlock a hidden zone, activate the next checkpoint, and then safely die to reset enemy positions without losing the unlock. This technique is especially valuable in dungeons where hidden zones sit far from the boss arena and you want to clear the side chamber before attempting the main fight.
Players who master checkpoint timing can chain multiple hidden zone unlocks in a single run. The key is to always activate the nearest checkpoint immediately after opening a hidden zone entrance, even if it means backtracking slightly. The backtracking time is trivial compared to the cost of dying and losing a hard-earned unlock to a full Anime Zero dungeon reset.
Co-op Dungeon Hidden Zones and Team Coordination
Anime Zero co op dungeons introduce hidden zones that are mathematically impossible to access solo. These zones require simultaneous input from multiple players, which forces teams to communicate and position carefully. The most common co-op hidden zone mechanic is the dual pressure plate, where two players must stand on separate plates within a two-second window to open a nearby door.
The challenge with dual pressure plates is not standing on them, but doing so while enemies are still attacking. Most co-op hidden zone failures happen because one player gets knocked off their plate by an enemy ability, breaking the trigger sequence. Teams that clear the room completely before attempting plate activation succeed far more often than teams that try to trigger plates mid-combat.
The table below compares solo hidden zones with co-op exclusive hidden zones across several key dimensions, but the raw categories only tell part of the story — the real difference surfaces when you examine how each dimension interacts with the others. For example, solo hidden zones almost always preserve checkpoint progress after a failure, meaning a mistimed lever pull costs you only a few seconds of repositioning. Co-op hidden zones, by contrast, reset the entire trigger sequence when one plate holder gets knocked off, which compounds the failure penalty because the checkpoint only preserves progress if all players are still alive. This interaction between Checkpoint Interaction and Failure Penalty is why co-op teams should treat the room-clear phase as mandatory before attempting any dual pressure plate activation — a single surviving add can turn a ten-second sequence into a three-minute restart loop.
| Dimension | Solo Hidden Zones | Co-op Hidden Zones |
|---|---|---|
| Trigger Type | Breakable walls, timed levers | Dual plates, multi-switch sequences |
| Player Requirement | 1 player | 2-4 players |
| Reward Quality | Standard to rare | Rare to elite |
| Failure Penalty | Minor time loss | Full sequence restart |
| Checkpoint Interaction | Standard preservation | Requires all players alive |
Co-op hidden zones reward teams that assign roles before entering the dungeon. One player should be designated as the plate holder, another as the lever puller, and a third as the enemy clearer who keeps adds off the other two. Teams without role assignments tend to cluster on the same objective, leaving plates untriggered or levers unpulled while enemies swarm the group.
Communication Patterns That Prevent Wasted Runs
Voice chat is not required for co-op hidden zones, but a simple callout system dramatically improves success rates. Teams that announce plate activation with a short phrase like "on plate" or "pulling lever" complete hidden zone sequences roughly twice as fast as teams that rely on visual cues alone. The timing windows in Anime Zero co op dungeons are forgiving enough for text chat, but only if everyone knows the plan before the sequence starts.
One underrated coordination technique is pre-positioning. Before triggering any co-op hidden zone, all players should stand at their assigned interaction points and confirm readiness. Pre-positioning eliminates the scramble that happens when a sequence starts unexpectedly, which is the leading cause of failed plate triggers in community-reported dungeon runs.
Optimizing Hidden Zone Farming Routes Across Dungeon Types
Farming hidden zones efficiently requires a route that minimizes backtracking while maximizing unlock coverage. The optimal route depends on the dungeon type, because standard dungeons, boss dungeons, and co-op dungeons each have different layout patterns and checkpoint distributions. Players who try to apply one universal route to every dungeon type waste significant time on dead ends.
For standard dungeons, the most efficient hidden zone route follows a spiral pattern that starts from the entrance and works inward. This pattern ensures you pass every potential hidden zone location exactly once, which eliminates the need to double back for missed entrances. The spiral pattern works because standard dungeon rooms are arranged in a roughly circular layout with the boss arena at the center.
The table below organizes these route patterns by dungeon type so you can compare the average run time against the expected hidden zone yield per run. The time estimates assume a solo player with a level-appropriate build, no checkpoint resets, and full map familiarity; co-op runs trend toward the upper end of each range because split coverage requires callouts and occasional regrouping at dungeon checkpoints. Use these figures as a baseline when deciding whether a given dungeon rerun is worth the time investment, since the hidden zone reward pool does not scale with run length.
| Dungeon Type | Recommended Route Pattern | Avg. Run Time | Hidden Zones Per Run |
|---|---|---|---|
| Standard Dungeon | Spiral from entrance inward | 12-18 minutes | 2-4 |
| Boss Dungeon | Linear with side detours | 8-12 minutes | 1-2 |
| Co-op Dungeon | Split coverage with callouts | 15-22 minutes | 3-5 |
| Timed Dungeon | Rush main path, skip hidden | 6-9 minutes | 0-1 |
Timed dungeons are the exception to hidden zone farming because the time pressure makes side exploration too risky. The single hidden zone in timed dungeons, when it appears, is usually positioned directly on the main path and requires no detour. Players who attempt to farm timed dungeon hidden zones by exploring side rooms consistently fail the timer and lose all rewards.
Balancing Hidden Zone Farming With Boss Rewards
Hidden zones are valuable, but they should not replace boss clears in your farming rotation. The boss chest in most Anime Zero dungeons contains the highest-value loot, while hidden zone chests provide supplementary rewards that are still worth collecting when they do not add significant time to your run. The ideal farming route clears hidden zones on the way to the boss rather than treating them as a separate objective.
Players who are still learning dungeon layouts should check the Anime Zero dungeon guide for a complete breakdown of room structures and boss mechanics before attempting optimized hidden zone routes. Knowing the base dungeon layout makes it much easier to spot the environmental cues that signal hidden zone entrances.
Frequently Asked Questions
Do anime zero hidden zones reset after a dungeon rerun?
No, hidden zone unlock flags persist between completed dungeon reruns. Once you unlock a hidden zone entrance, it stays open on all future runs of that same dungeon. However, if you abandon a run before completing it, the unlock is lost because the run reset rather than completed.
Can solo players access all anime zero hidden zones?
No, some hidden zones require co-op-only mechanics like dual pressure plates that need two or more players standing on separate tiles simultaneously. Solo players can access breakable wall and timed lever hidden zones, but co-op exclusive zones remain locked without a party.
Where are anime zero dungeon checkpoints located?
Checkpoint placement varies by dungeon type. Standard dungeons place checkpoints after every two rooms, boss dungeons only before the boss arena, and co-op dungeons after every room. Timed dungeons have a single checkpoint at the start with no mid-run saves.
How do I trigger a breakable wall hidden zone?
Walk close to suspicious wall segments and look for faint crack textures that only render at melee range. Hit the cracked wall with a heavy attack or a specific ability to break it open. The crack texture is easy to miss, so scan walls carefully in rooms with asymmetric geometry.
What is the fastest way to farm hidden zone loot?
Complete a full dungeon run first to unlock every hidden zone entrance, then farm reruns using a spiral route that passes each entrance exactly once. Since unlock flags persist on reruns, subsequent farming runs skip the trigger sequences entirely and only require looting the chests.